Blog
DIY Plant Humidifier Setup: Complete Guide

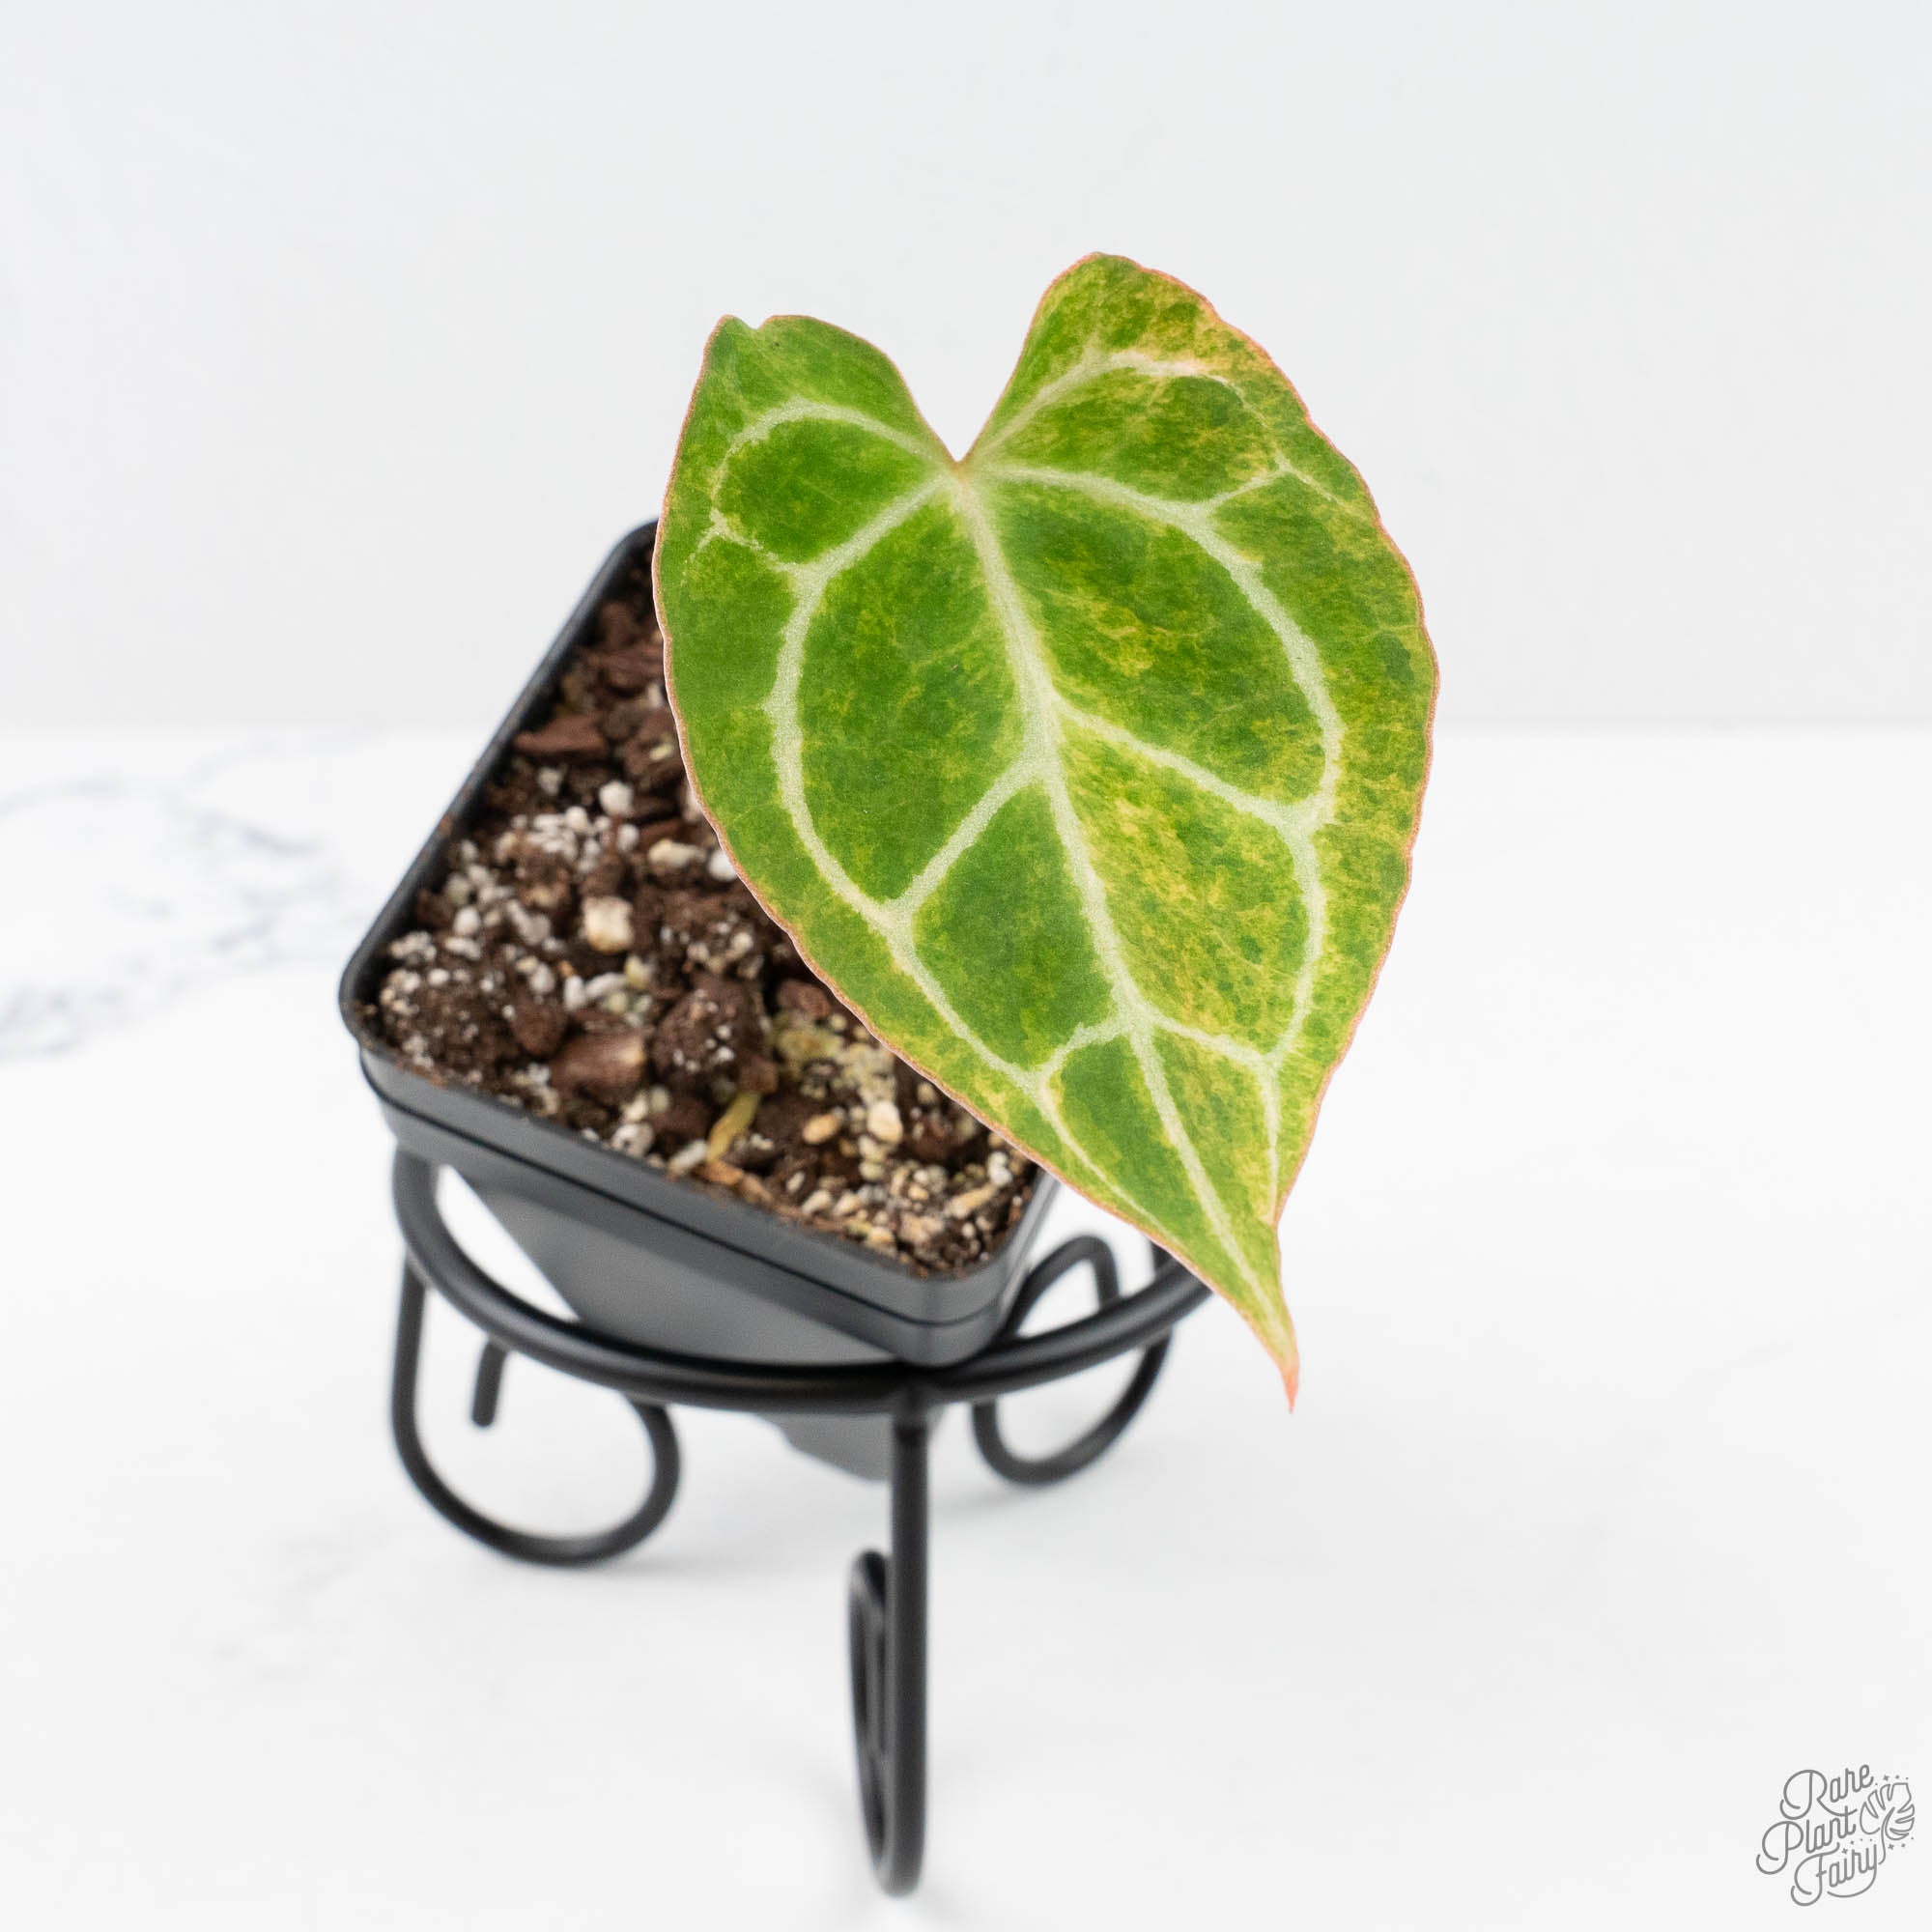
A plant humidifier setup is the simplest way to give humidity-loving plants the tropical air they crave without turning your whole home into a swamp. Most rare aroids, from velvet Anthuriums to Alocasia, grew up in forests where the air is soft and damp, while a typical heated home can sit well below the humidity they prefer, especially in winter.
This guide treats humidity as a build project. You will measure first, choose a method that fits your space, follow step-by-step instructions for four DIY builds, and learn how to keep everything safe, clean and mold-free. Pick one build, finish it this weekend, and your plants will show the difference within weeks.
Your project map
- Before You Build: Measure Your Humidity
- Which Plants Need a Plant Humidifier Setup?
- Choose Your Plant Humidifier Setup
- Quick-Start Plan for Beginners
- Build 1: Grouped Plants and Pebble Tray
- Build 2: Clear-Tote Humidity Box
- Build 3: Room Humidifier Plant Zone
- Build 4: Enclosed Humidity Cabinet
- Humidity and Light Work Together
- Water, Airflow and Safety for Any Plant Humidifier Setup
- Troubleshooting Your Plant Humidifier Setup
- Common Plant Humidifier Setup Mistakes
- Adjusting Your Setup Through the Seasons
- Maintenance Schedule
- Your Plant Humidifier Setup Checklist
Before You Build: Measure Your Humidity
Do not guess. Buy a digital hygrometer, which is an inexpensive device that reads relative humidity, and place it at plant height, away from vents and windows. Watch it for a day or two, since humidity swings between day and night.
To check that your hygrometer is honest, try the salt test: seal it in a small container with a bottle cap of salt dampened into a slush, and leave it for 8 to 12 hours. It should read about 75 percent. If it is off, note the difference and adjust your readings.
Then compare your reading with what your plants want. These targets are approximate starting points.
| Plant group | Target humidity | Notes |
|---|---|---|
| Philodendron, Monstera, Scindapsus | 50 to 60 percent | Tolerate average homes but grow better with more |
| Velvet Anthurium, Alocasia, Calathea | 60 to 80 percent | Dry air causes crispy edges and stalled growth |
| Hoya | 40 to 60 percent | Tolerate drier air than most aroids |
| Cuttings and tissue culture plantlets | 80 to 95 percent at first | Reduce gradually during acclimation |
| Succulents and cacti | 30 to 50 percent | Do not need a humidifier |
Which Plants Need a Plant Humidifier Setup?
Not every plant needs extra humidity, so check before you build. A plant humidifier setup earns its keep when your plants show these signs of dry air:
- Crispy, brown edges on leaves, especially new ones
- New leaves that stick, tear or fail to unfurl properly
- Stalled growth in plants that should be pushing leaves
- Curling leaves on moisture lovers such as Calathea
- Recurring spider mites, which thrive in dry air
If your plants look healthy and your hygrometer sits in their target range, you may not need anything beyond good watering. If you grow velvet Anthuriums, Alocasia or fresh cuttings, a plant humidifier setup is usually worth the effort.
Choose Your Plant Humidifier Setup
Each method trades effort and cost for strength and reach. Use this table to pick your starting point.
| Build | Difficulty | Cost | Strength | Best for |
|---|---|---|---|---|
| 1. Grouping and pebble tray | Easy | Low | Mild | A few plants, small boost |
| 2. Clear-tote humidity box | Easy | Low | Strong | Cuttings, seedlings, plantlets |
| 3. Room humidifier zone | Medium | Medium | Moderate | A shelf or corner of plants |
| 4. Enclosed humidity cabinet | Advanced | Higher | Very strong | Rare, humidity-hungry collections |
Raising the humidity of a whole home for long periods can cause condensation and mold on windows and walls. That is why most good builds create a local humid zone around your plants rather than humidifying every room.
Quick-Start Plan for Beginners
If a four-build menu feels like a lot, start here. This simple plan takes about 30 minutes and gives you most of the benefit.
- Buy a hygrometer and place it at plant height.
- Group your thirstiest plants together in one spot.
- Add a clear-tote humidity box for any cuttings or new arrivals.
- Check the reading daily for a week, then decide whether you need a humidifier.
You can always add a humidifier or a cabinet later. Starting small keeps costs low and shows you what your plants actually need.
Build 1: Grouped Plants and Pebble Tray
| Difficulty | Time | Best for |
|---|---|---|
| Easy | 15 minutes | A few plants and a small boost |
You will need
- A shallow tray or saucer wider than your pot
- Pebbles or clay pellets
- Water, ideally distilled or filtered
Steps
- Group your plants. Plants release moisture through their leaves, so a cluster creates a small pocket of damper air.
- Fill the tray with pebbles. Make a layer about an inch deep.
- Add water. Keep the waterline just below the top of the pebbles.
- Set the pot on the pebbles. The pot must never sit in the water, or roots will rot. See our guide to the best pots for houseplants for drainage tips.
- Top up regularly. Check the tray every few days.
Be realistic: a pebble tray gives only a small, local boost, so treat it as a helper rather than a solution for fussy plants.
Build 2: Clear-Tote Humidity Box
| Difficulty | Time | Best for |
|---|---|---|
| Easy | 20 minutes | Cuttings, seedlings and plantlets |
You will need
- A clear plastic tote or storage bin with a lid
- A few small holes or a small gap for venting
- Damp sphagnum moss, perlite or a tray of water
- Light from a grow light or bright window
Steps
- Line the base. Add a layer of damp moss or perlite to hold moisture.
- Place pots or trays inside. Keep leaves from touching the walls.
- Add a hygrometer. Put it where you can read it through the plastic.
- Close the lid with a small vent. A little airflow prevents stagnant, moldy air.
- Place it in bright, indirect light. Avoid direct sun, which overheats a closed box.
- Open it daily. A quick air exchange keeps plants healthy.
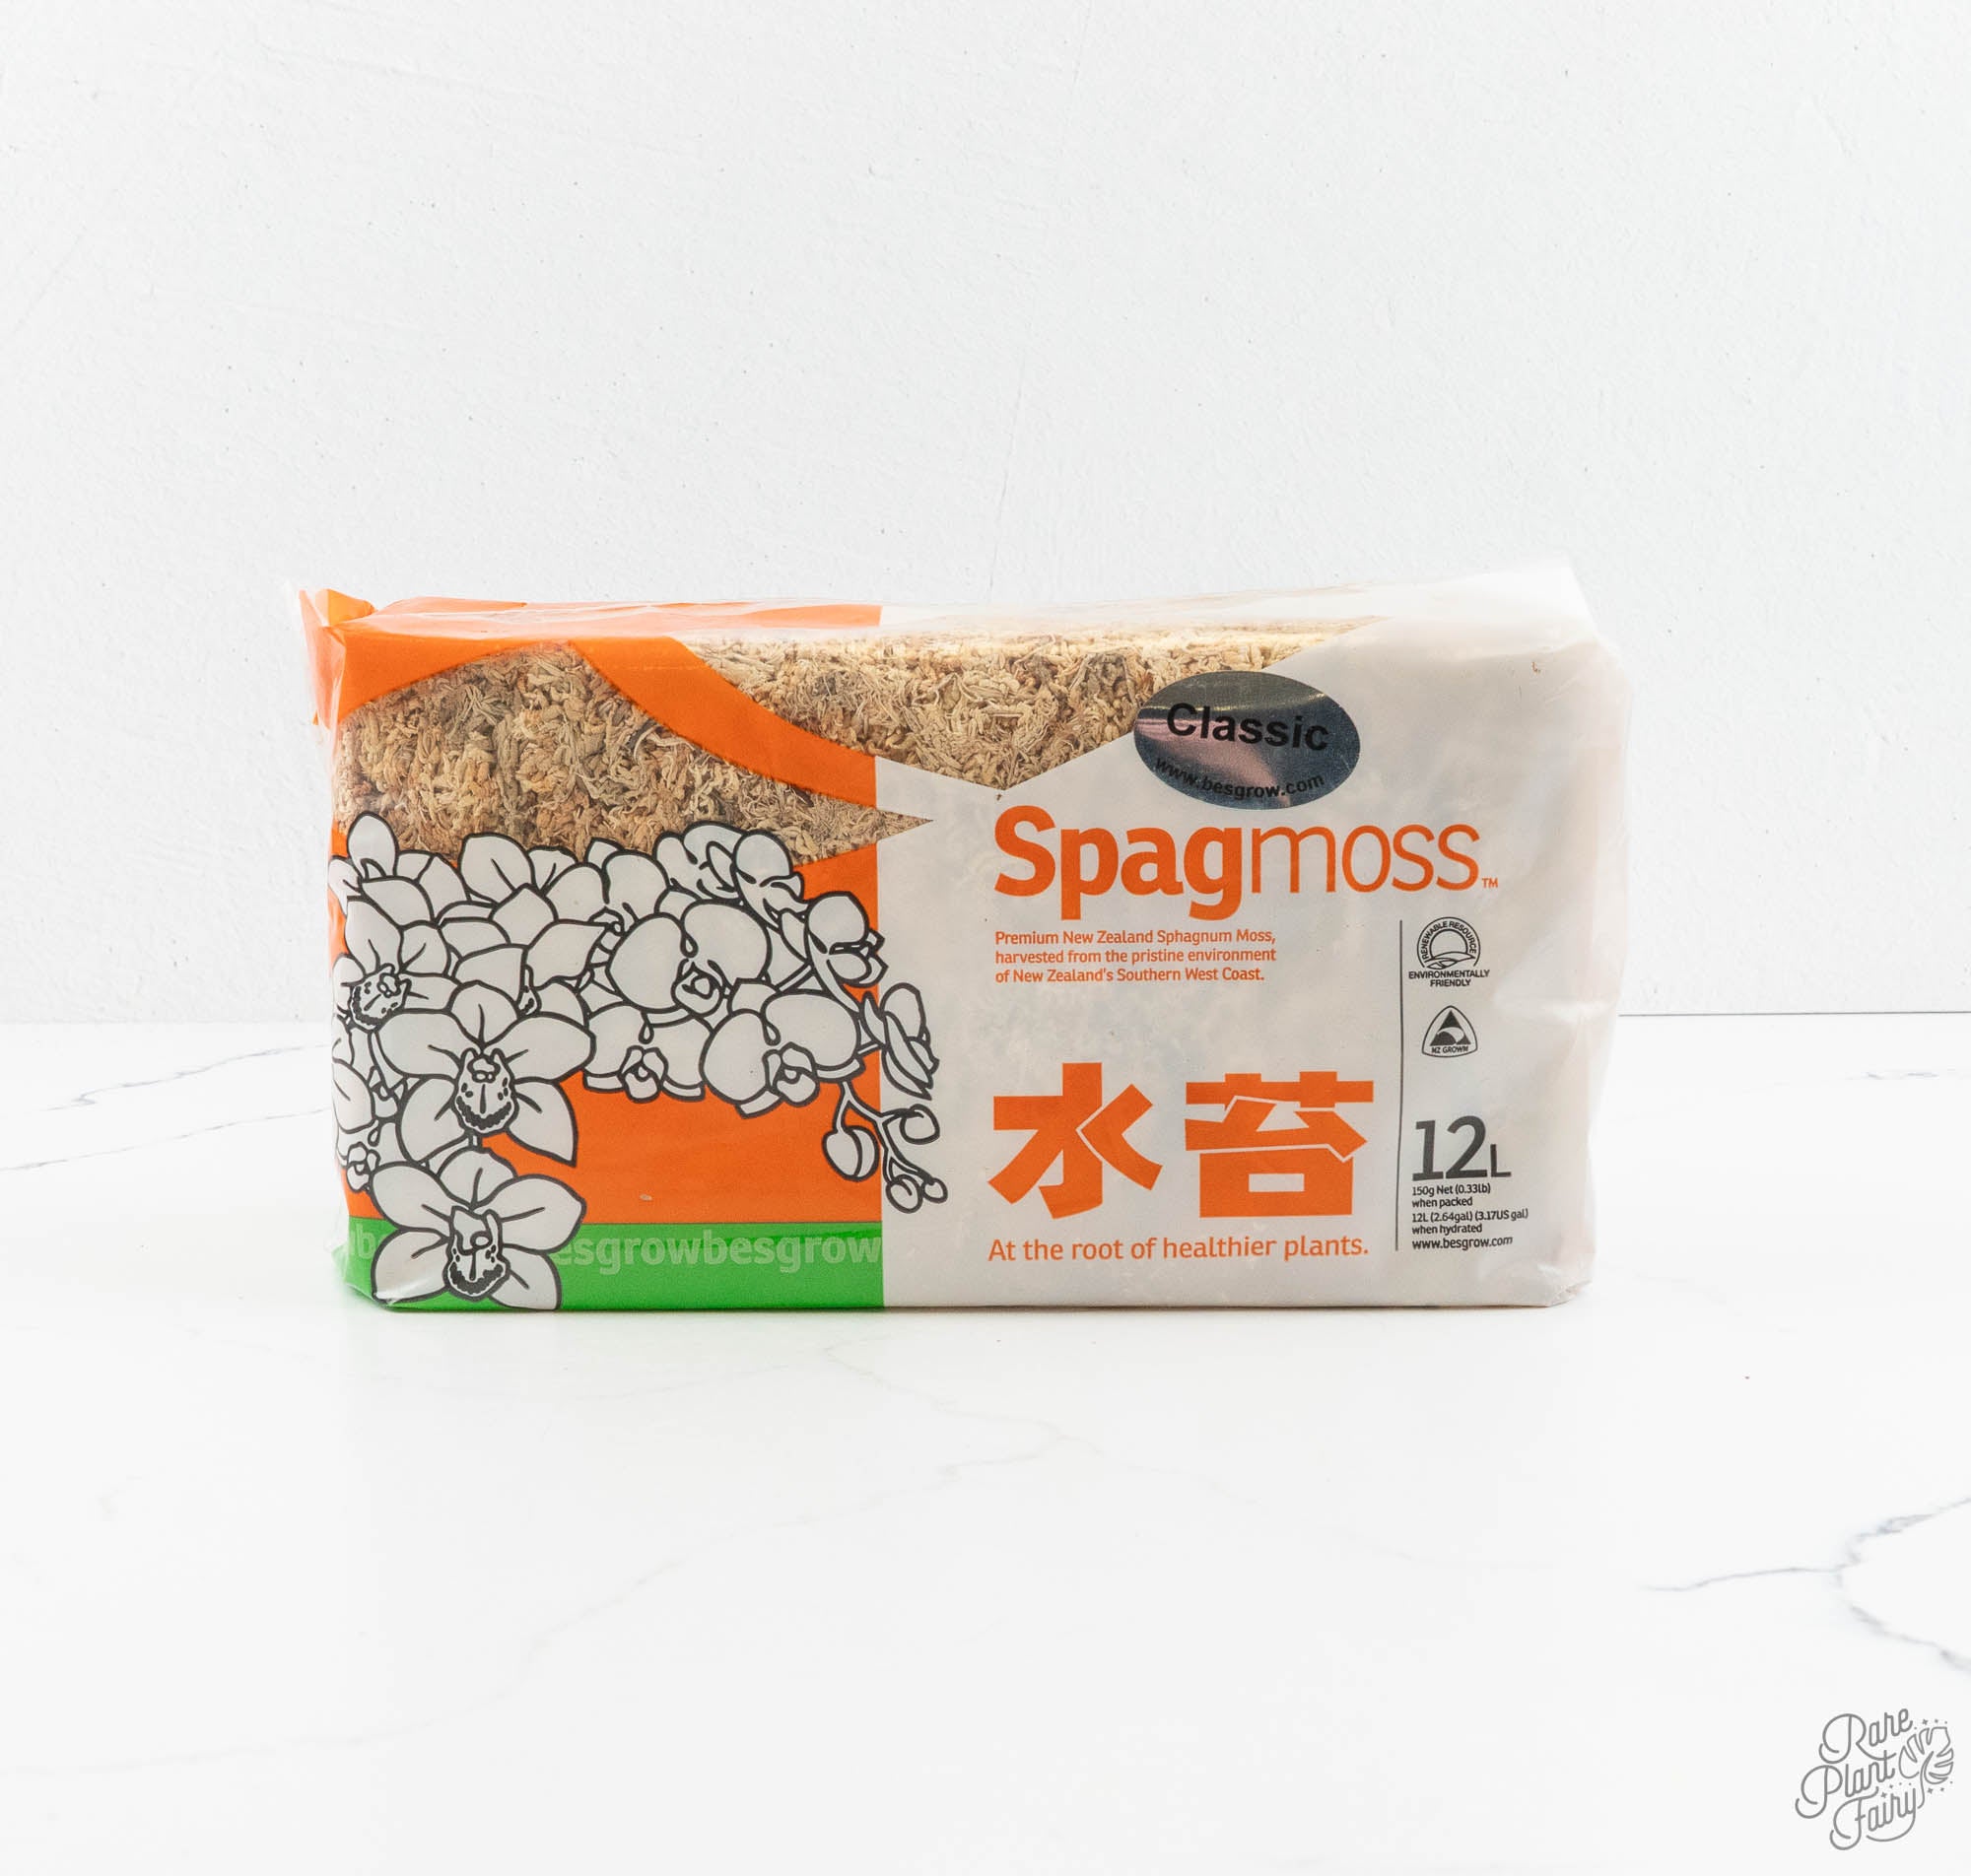
This build is ideal for new cuttings and for young plants coming out of culture. Our tissue culture beginners guide shows how to step plantlets down from high humidity, and our Pots and Supplies collection carries moss and acclimation supplies.
Build 3: Room Humidifier Plant Zone
| Difficulty | Time | Best for |
|---|---|---|
| Medium | 1 hour | A shelf or corner of plants |
You will need
- A cool-mist ultrasonic or evaporative humidifier
- Distilled or demineralized water
- A hygrometer, and ideally a plug-in humidity controller
- A small fan to move air gently
Steps
- Choose the zone. Pick a corner or shelf where you can group your humidity-loving plants.
- Place the humidifier nearby. Keep it a few feet from the plants and aim the mist upward, not straight at leaves.
- Use distilled water. Ultrasonic models can scatter white mineral dust from hard tap water.
- Set a target. A humidity controller or built-in humidistat set around 55 to 65 percent keeps levels steady.
- Add gentle airflow. A small fan on low prevents damp, stagnant pockets.
- Watch the hygrometer. Adjust placement or settings until readings sit in your target range.
Ultrasonic or evaporative?
Two humidifier types suit most plant setups. Ultrasonic models are quiet and produce a fine cool mist, but they can scatter white mineral dust if you use hard tap water. Evaporative models blow air through a wet wick, produce no dust and tend to level off as humidity rises, although they are a little noisier and need new filters. Either works well with distilled water and regular cleaning.
Build 4: Enclosed Humidity Cabinet
| Difficulty | Time | Best for |
|---|---|---|
| Advanced | A weekend | Rare, humidity-hungry collections |
An enclosed cabinet is the gold standard for fussy plants. It holds humidity in a sealed space, so a small humidifier can keep it high with little effort. Many collectors use a glass-fronted cabinet or a shelving unit wrapped in clear plastic.
You will need
- A cabinet or shelving unit with clear doors or a clear cover
- A small humidifier, plus a plug-in humidity controller
- A small fan for circulation
- A grow light, such as the fixtures covered in our grow light guide
- A hygrometer inside the cabinet
- A tray to catch drips
Steps
- Seal it, but not completely. Close gaps so humidity stays in, and leave a small vent for fresh air.
- Install the light. Mount it so the cord and plug stay clear of water, and run it on a timer.
- Add the humidifier. Place it on a stable base, with the plug and controller outside the damp zone where possible.
- Run a fan on low. Moving air stops fungus and evens out humidity.
- Set the controller. Aim for a range suited to your plants, then watch the hygrometer for a few days.
- Introduce plants gradually. Move them in one at a time and watch for pests and mold.
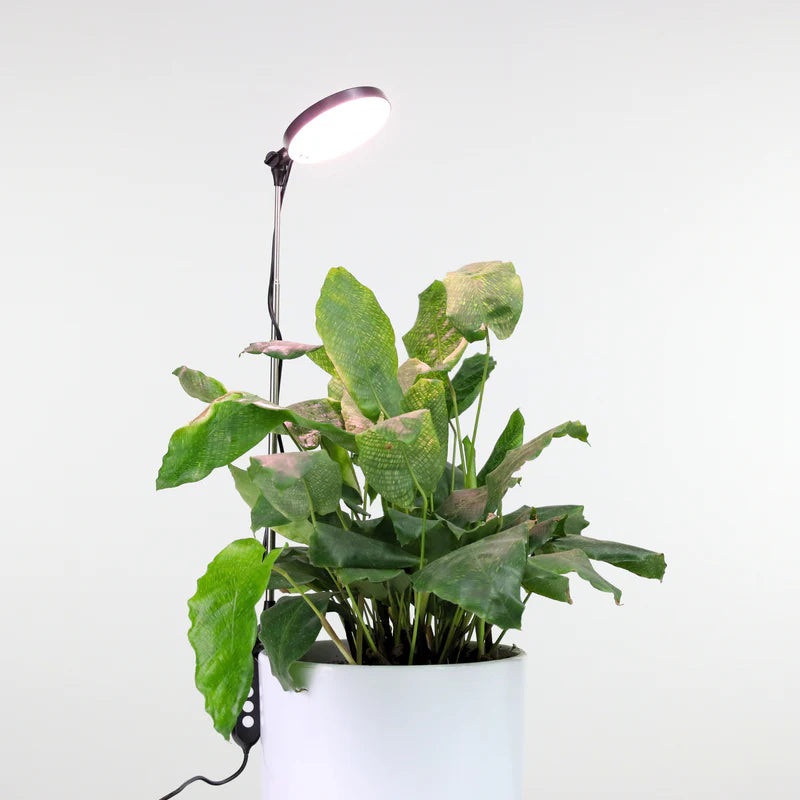
Humidity and Light Work Together
A humid space with poor light invites mold and leggy growth, because plants use little water and the air stays damp. Pair your humidity setup with decent light, and run it on a timer for a steady 12 hours or so. Our guide to the best grow lights for rare houseplants shows how to choose and place fixtures. Keep electrical fixtures dry and away from direct mist, and choose lights suited to humid spaces.
Heat matters too. Lights, humidifiers and sealed cabinets can warm the air, so check the temperature as well as the humidity, especially in small enclosures.
Water, Airflow and Safety for Any Plant Humidifier Setup
- Use distilled or demineralized water. It prevents white dust and limits mineral build-up.
- Keep airflow moving. High humidity without airflow invites mold and fungus.
- Respect electricity and water. Keep plugs, timers and power strips off the floor and away from spray, and use outlets with ground-fault protection where you can.
- Protect your furniture. Use trays and waterproof surfaces under humidifiers and cabinets.
- Clean the humidifier. Follow the manufacturer's instructions, since dirty tanks grow bacteria and mold.
- Watch your home. If you see condensation on windows or walls, lower the setting.
Troubleshooting Your Plant Humidifier Setup
| If you see | It probably means | Try this |
|---|---|---|
| Mold or mildew | Humidity is high and air is stagnant | Add airflow, open vents, reduce humidity |
| White dust on leaves or shelves | Mineral-rich water in an ultrasonic humidifier | Switch to distilled water |
| Brown, crispy leaf edges | Humidity may be too low, or watering issues | Check the hygrometer and your watering |
| Water droplets everywhere | Too much humidity or temperature swings | Lower the setting and add a vent |
| Humidity will not rise | Too many leaks or too much air exchange | Seal gaps and reduce airflow slightly |
| Fungus gnats | Constantly wet mix | Let the top layer dry and clean up debris |
Common Plant Humidifier Setup Mistakes
- Skipping the hygrometer. Without a reading, you are guessing.
- Pointing mist at leaves. Constantly wet leaves invite fungal spots.
- Using hard tap water. It leaves mineral dust on leaves and furniture.
- Forgetting airflow. Still, humid air breeds mold.
- Relying on misting. Misting lifts humidity for only a few minutes, so it is not a lasting solution.
- Skipping cleaning. Dirty tanks and trays grow bacteria and mold.
Adjusting Your Setup Through the Seasons
Humidity changes through the year, so your plant humidifier setup should too. Winter heating dries indoor air, so you may need your humidifier running longer and your cabinet vents closed a little more. In summer, air conditioning can also dry the air, but warm, humid weather may mean you can reduce settings and open vents to prevent mold.
Check your hygrometer weekly, adjust one setting at a time, and keep short notes. Over a year you will learn exactly how your home behaves.
Maintenance Schedule
| How often | What to do |
|---|---|
| Daily | Check the hygrometer, top up water and glance at the plants |
| Weekly | Wipe surfaces, empty trays and clean tanks |
| Monthly | Descale the humidifier and check cords, plugs and seals |
For more routine care advice, browse our Plant Care hub.
Your Plant Humidifier Setup Checklist
- Measured humidity with a hygrometer and noted the target for your plants
- Chosen a build that fits your space and budget
- Gathered distilled water and set up airflow
- Placed electricals safely away from water
- Set a daily check and a weekly clean
- Watched plants for two weeks before changing anything
A good plant humidifier setup does not need to be fancy. It needs to be steady, clean and matched to your plants.
Ready to build? Explore our Pots and Supplies collection for trays, moss and acclimation kits, and see our Anthurium collection and Alocasia collection for plants that love the extra humidity.