Blog
Tissue Culture for Beginners: A Complete Step-by-Step Guide

This tissue culture beginners guide takes you from the first sterile wipe-down to a plantlet growing happily in your collection. Tissue culture sounds like laboratory science, but the core idea is simple: grow tiny pieces of a plant in a sterile jar of nutrient gel, multiply them, root them and move them into the real world. Collectors use it to multiply rare aroids quickly, and the same techniques are available at home with a little care.
You will learn what tissue culture is, the five stages every plant goes through, the supplies you need, a full step-by-step walkthrough, how to acclimate plantlets, and how to fix the problems that trip up almost every beginner. Expect some failures at first. Even experienced labs lose jars, and every lost jar teaches you something.
The golden rule of tissue culture: cleanliness beats everything else. Most beginner failures come from contamination, not from the plant.
In this guide
- What Is Plant Tissue Culture? A Tissue Culture Beginners Guide to the Basics
- The Five Stages of Tissue Culture
- Tissue Culture Beginners Guide: Two Ways to Start
- Choosing the Right Plants for Your First Project
- Understanding Tissue Culture Media: What Is in the Jar?
- Equipment and Supplies You Need
- Tissue Culture Beginners Guide: Setting Up Your Space
- Tissue Culture Beginners Guide: Sterile Technique Checklist
- Step-by-Step: Your First Tissue Culture Project
- How to Acclimate Tissue Culture Plantlets
- Tissue Culture Beginners Guide: How Long Each Stage Takes
- Common Tissue Culture Problems and How to Fix Them
- Safety and Legal Basics for Beginners
- Tips for Tissue Culture Success
- Tissue Culture Beginners Guide: Frequently Asked Questions
- Final Thoughts: Your Tissue Culture Beginners Guide Checklist
What Is Plant Tissue Culture? A Tissue Culture Beginners Guide to the Basics
Plant tissue culture, also called micropropagation, is the practice of growing small pieces of plant tissue on a sterile nutrient medium inside a sealed container. The medium is usually a gel made from agar, sugar, minerals, vitamins and small amounts of plant growth regulators. Because the jar is sterile, the tiny plant can grow without competition from bacteria and fungi.
Why do collectors and nurseries use it?
- Speed. One shoot can become dozens of plantlets in a few cycles, far faster than cuttings.
- Space. Hundreds of plantlets fit on a single shelf.
- Clean plants. Plantlets start free of pests and many diseases.
- Access. It is how many rare aroids reach collectors at affordable prices.
Tissue-cultured plants are genetically near-identical to the parent, although small changes can occur. Variegated plants deserve special mention: variegation is not always stable in culture, and plantlets may revert to plain green. If your goal is a variegated cultivar, expect some variation.
The Five Stages of Tissue Culture
Every plant that goes through tissue culture follows the same journey, and the stages in this tissue culture beginners guide are the same ones used by commercial labs. Knowing them helps you pick the right medium at each step.
| Stage | What happens | Goal |
|---|---|---|
| Stage 0: Preparation | Choose a healthy mother plant and clean material | Start with the cleanest tissue possible |
| Stage 1: Initiation | Sterilize a small piece (the explant) and place it on medium | Get a clean, living culture started |
| Stage 2: Multiplication | Shoots multiply on a medium rich in cytokinins | Make many shoots from one |
| Stage 3: Rooting | Shoots move to a rooting medium | Grow strong roots before leaving the jar |
| Stage 4: Acclimatization | Plantlets move into a humid, non-sterile environment | Toughen them up for normal life |
Plant growth regulators steer the process. Cytokinins encourage shoots to multiply, while auxins encourage roots. That is why multiplication and rooting use different media.
Tissue Culture Beginners Guide: Two Ways to Start
You do not have to start from scratch. This tissue culture beginners guide assumes you want the simplest route first, and most beginners pick one of two paths.
| Path | What you do | Best for |
|---|---|---|
| Ready-made media | Buy sterile, pre-poured jars and start from your own explants or plantlets | Beginners who want to skip media prep and sterilizing |
| Full DIY | Mix media from raw ingredients, sterilize it and pour your own jars | Hobbyists who want full control and lower cost per jar over time |
Making your own media means buying several ingredients, adjusting the pH and running a pressure cooker, and a single mistake can ruin a whole batch. Ready-made media removes those variables, so you can focus on mastering sterile technique first. Our Tissue Culture Supplies collection includes ready-to-use media for exactly this purpose.
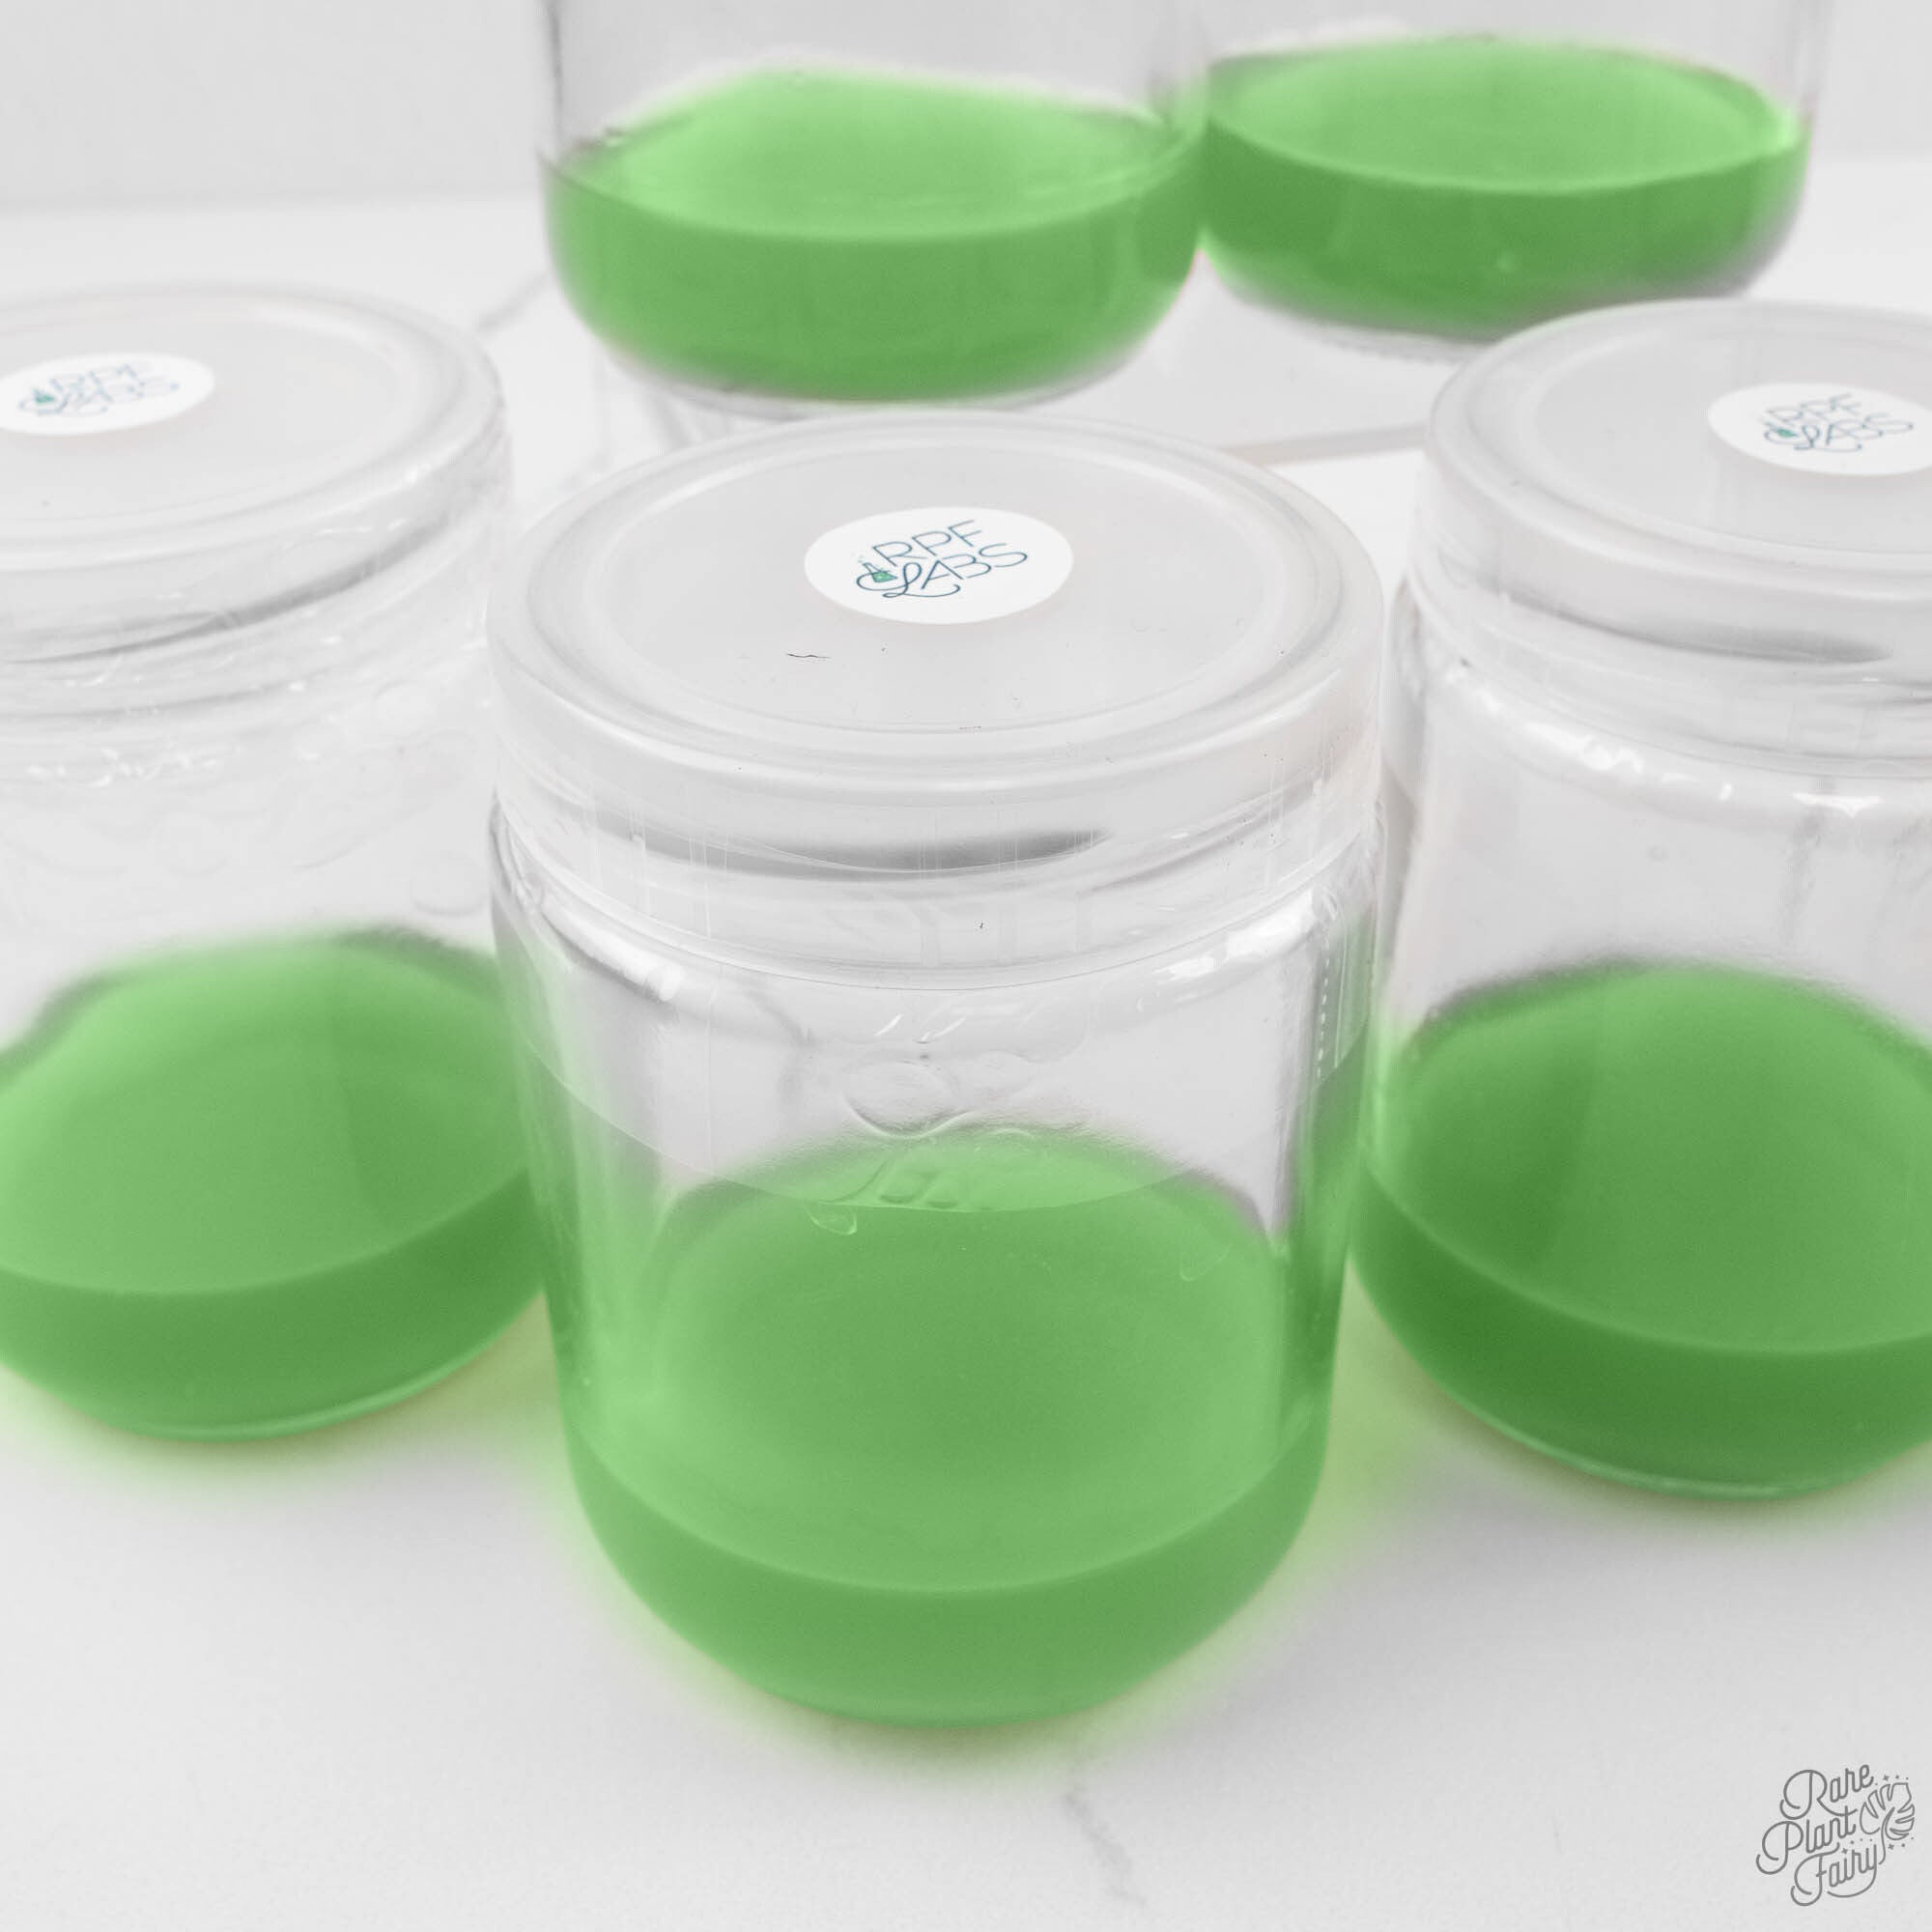
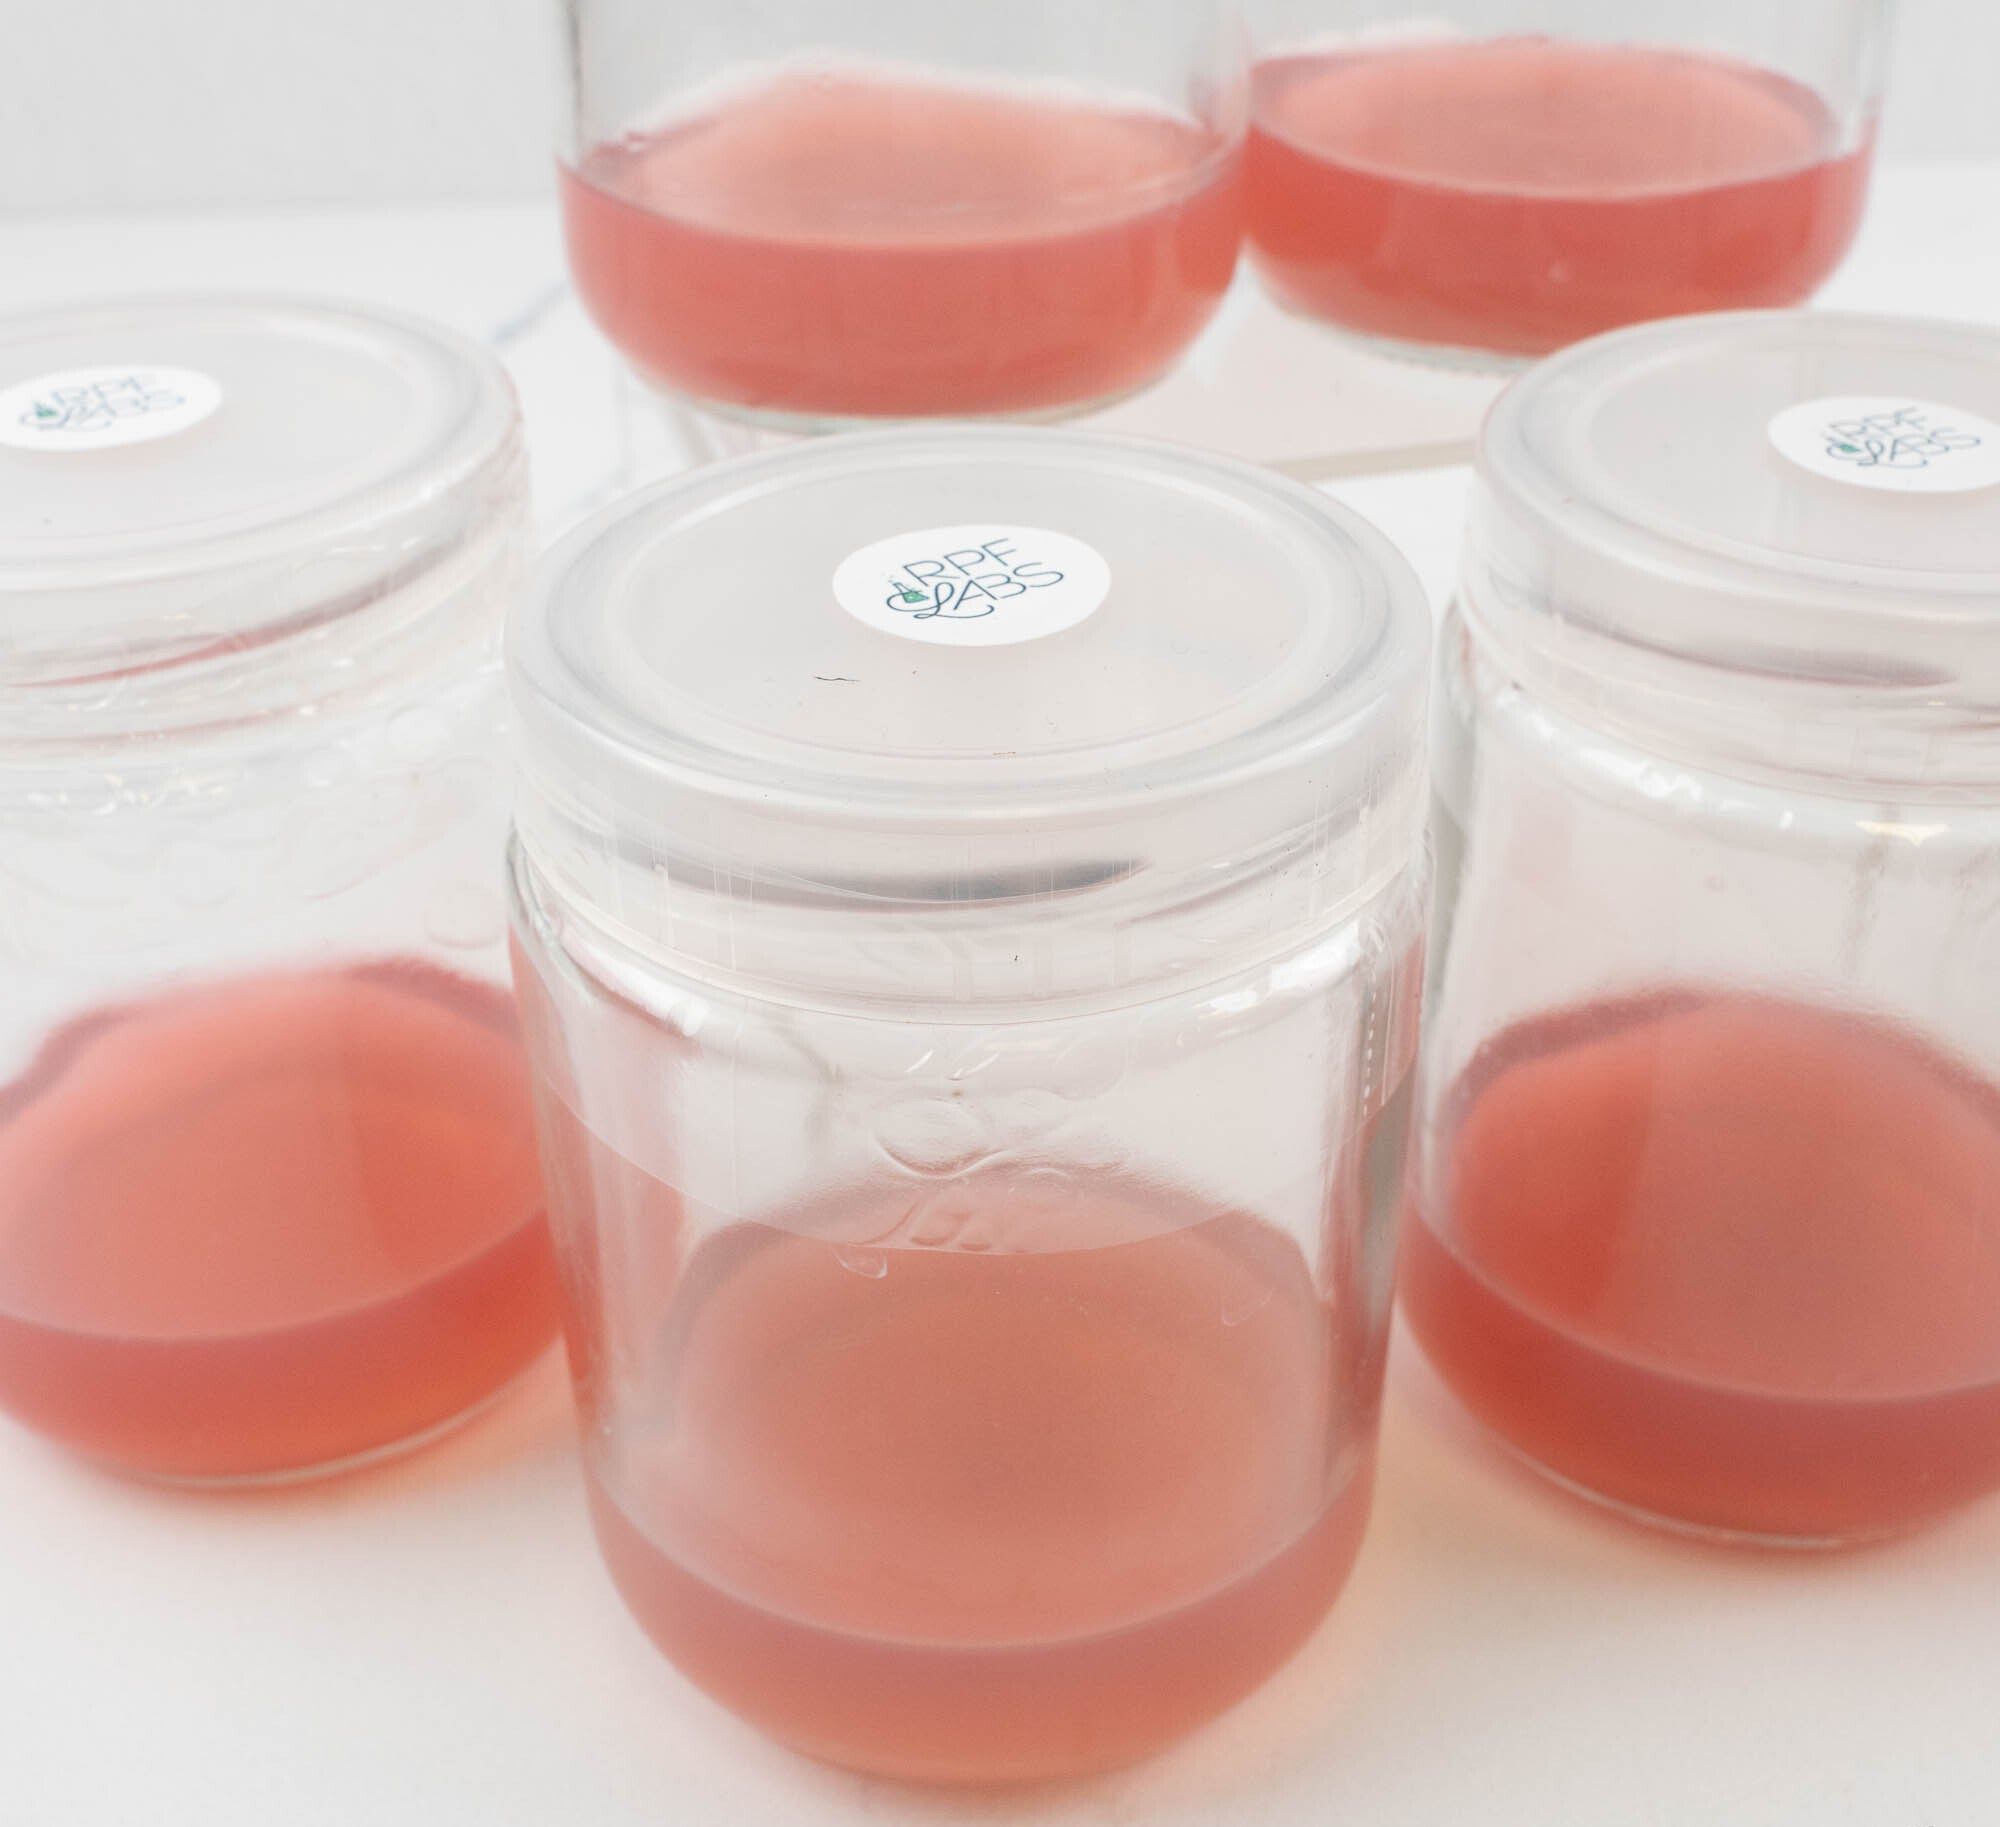
Media comes in several types. RPF Labs, for example, makes a general-purpose multiplication medium for genera such as Philodendron, Alocasia, Monstera, Syngonium and Anthurium, a dedicated Anthurium multiplication medium, a rooting medium for use after multiplication and before acclimatization, a seed germination medium, and a carnivorous plant formula. Each box contains 12 jars of agar-based media. If the agar breaks during shipping, it can be re-set using the instructions included in the box.
Choosing the Right Plants for Your First Project
Plant choice matters more than most beginners expect. Some plants take to tissue culture readily, while others brown, stall or refuse to root. In any tissue culture beginners guide, the advice for a first project is the same: pick something forgiving.
Common aroids such as Philodendron, Monstera and Syngonium are popular first choices because they tend to grow steadily in culture. Seeds are another gentle starting point, since seed-grown tissue is usually cleaner than cuttings from a mature plant. Slow, woody or heavily variegated plants are harder, so save them for later once your technique is solid.
If your goal is to learn, start with plantlets or seeds rather than sterilizing mature plant material. Contamination rises sharply when you work from a houseplant that has lived in soil, so it is a smaller, cleaner jump to begin with something already sterile.
Understanding Tissue Culture Media: What Is in the Jar?
The jar of gel is the heart of tissue culture, so it helps to know what it contains. A typical medium includes:
- Basal salts that supply the major and minor minerals plants need, often a mix such as Murashige and Skoog.
- Sugar, because plantlets in a sealed jar cannot make enough food by photosynthesis alone.
- Agar, a gelling agent that holds everything in a stable gel.
- Vitamins that support healthy cell growth.
- Plant growth regulators, mainly cytokinins to multiply shoots and auxins to encourage roots.
The balance of those growth regulators is what separates a multiplication medium from a rooting medium. It is also why a medium designed for one group of plants may not suit another. Carnivorous plants, for example, are sensitive to mineral levels and usually need their own formula, which is why some suppliers sell them separately.
Whatever you use, the medium must be sterile and set properly. A cloudy jar, a cracked gel or a film on the surface all mean something went wrong before you even started.
Equipment and Supplies You Need
A good tissue culture beginners guide keeps costs realistic, and a beginner setup is small and affordable. Here is what to gather.
| Item | Purpose | Beginner tip |
|---|---|---|
| Still air box or laminar flow hood | Gives you a draft-free, clean workspace | A clear tote turned on its side with two arm holes works well |
| Pressure cooker or autoclave | Sterilizes DIY media and tools | Needed only if you make your own media |
| Culture jars with lids | Hold the media and plantlets | Use jars with filter or vented lids when possible |
| Scalpel and forceps | Cut and handle tissue | Keep several so you can swap them while you work |
| 70 percent isopropyl alcohol | Wipes surfaces, gloves and tools | Use a spray bottle for quick wipe-downs |
| Household bleach and sterile water | Surface-sterilize plant material | Dilute carefully and rinse thoroughly |
| Gloves, mask and hair tie | Keep skin, hair and breath out of the jars | Change gloves if you touch anything unclean |
| Labels and a notebook | Track dates, media and results | Records show you what works |
| Shelf with grow lights | Light and warmth for jars | A timer keeps the schedule consistent |
If you want to make media from scratch you will also need a basal salt mix such as Murashige and Skoog, sugar, agar, plant growth regulators, a scale and a way to measure pH. You can browse everything we carry in the Tissue Culture Supplies collection.
Tissue Culture Beginners Guide: Setting Up Your Space
You do not need a lab, but you do need a calm, clean corner. Plan two zones: a work zone where you handle plant material, and an incubation shelf where jars grow.
For the work zone, a still air box is the usual beginner solution. Turn a clear storage tote on its side so the opening faces you, then cut two holes just large enough for your forearms. Wipe the inside with alcohol, and let the air settle for 10 to 15 minutes before you work, since the whole idea is air that is not moving. Switch off fans, air conditioning and anything else that stirs the room.
For the incubation shelf, choose a spot with steady temperature and no direct sun. LED strips or a small grow light on a timer give you the 16-hour light cycle most cultures like, and LEDs stay cool enough to protect the jars. Our grow light guide explains how to choose a suitable fixture.
Tissue Culture Beginners Guide: Sterile Technique Checklist
Contamination is the number one reason beginners lose jars, so treat this checklist as non-negotiable.
- Wash your hands and put on clean gloves. Wipe the gloves with alcohol.
- Wipe every surface and tool. Include the outside of each jar before it goes into the box.
- Keep your face turned away. Breath and talking carry bacteria, so stay quiet and wear a mask.
- Open jars as little as possible. Tilt the lid rather than removing it fully, and close it quickly.
- Work from clean to dirty. Handle the cleanest material first and the riskiest last.
- Never reach over open jars. Keep your hands and arms to the side.
- Clean tools between plants. Wipe or sterilize them every time.
- Stop if something falls. Anything that touches the floor or your clothes is no longer sterile.
Step-by-Step: Your First Tissue Culture Project
This tissue culture beginners guide walks through the process in nine steps. Follow them in order, and do not rush the early ones, because cleanliness decides everything that follows.
Step 1: Prepare your workspace
Choose a room with no drafts, no pets and no fans running. Wipe the work surface and your still air box with alcohol. Wash your hands, tie your hair back, put on gloves and a mask, and wipe your gloves with alcohol. Set out everything you need before you start so you never have to leave the box mid-task.
Step 2: Prepare your media
With ready-made media, check each jar for cloudiness or damage and re-set any broken agar as the instructions say. If you make your own, mix the ingredients, adjust the pH to roughly 5.7 to 5.8, pour into jars and sterilize in a pressure cooker at about 15 psi for roughly 15 to 20 minutes once it reaches pressure. Larger volumes need longer. Let the pressure drop fully before opening the cooker and let the jars cool and set.
Step 3: Choose and prepare your explant
The explant is the small piece of plant that starts the culture, often a growing tip or a node. Choose healthy, actively growing material. Many beginners skip this step by starting with existing plantlets or with seeds, which is simpler than sterilizing mature plant tissue.
Step 4: Surface-sterilize the plant material
Rinse the explant, then soak it briefly in a diluted bleach solution with a drop of dish soap. A common starting point is around 10 percent household bleach for roughly 10 minutes, followed by three rinses in sterile water. Times vary by plant and tissue, so start conservatively and adjust. Work in a ventilated area, and wear gloves.
Step 5: Transfer to the jars
Inside the still air box, cut the explant to size with a sterile scalpel, place it on the medium with sterile forceps, and close the lid quickly. Wipe or flame-sterilize tools between each transfer. Keep movements slow and deliberate to avoid stirring up dust.
Step 6: Incubate
Place the jars on a shelf at about 22 to 26 degrees Celsius (72 to 78 degrees Fahrenheit) with roughly 16 hours of light and 8 hours of darkness. Use gentle, even light and keep jars out of direct sun, which overheats them. Our guide to the best grow lights for rare houseplants explains how to choose a suitable light.
Step 7: Monitor and subculture
Check your jars every day or two. Remove any contaminated jar immediately, without opening it, and dispose of it sealed. Healthy cultures are usually ready to be divided onto fresh multiplication medium every few weeks, a step called subculturing.
Step 8: Root the shoots
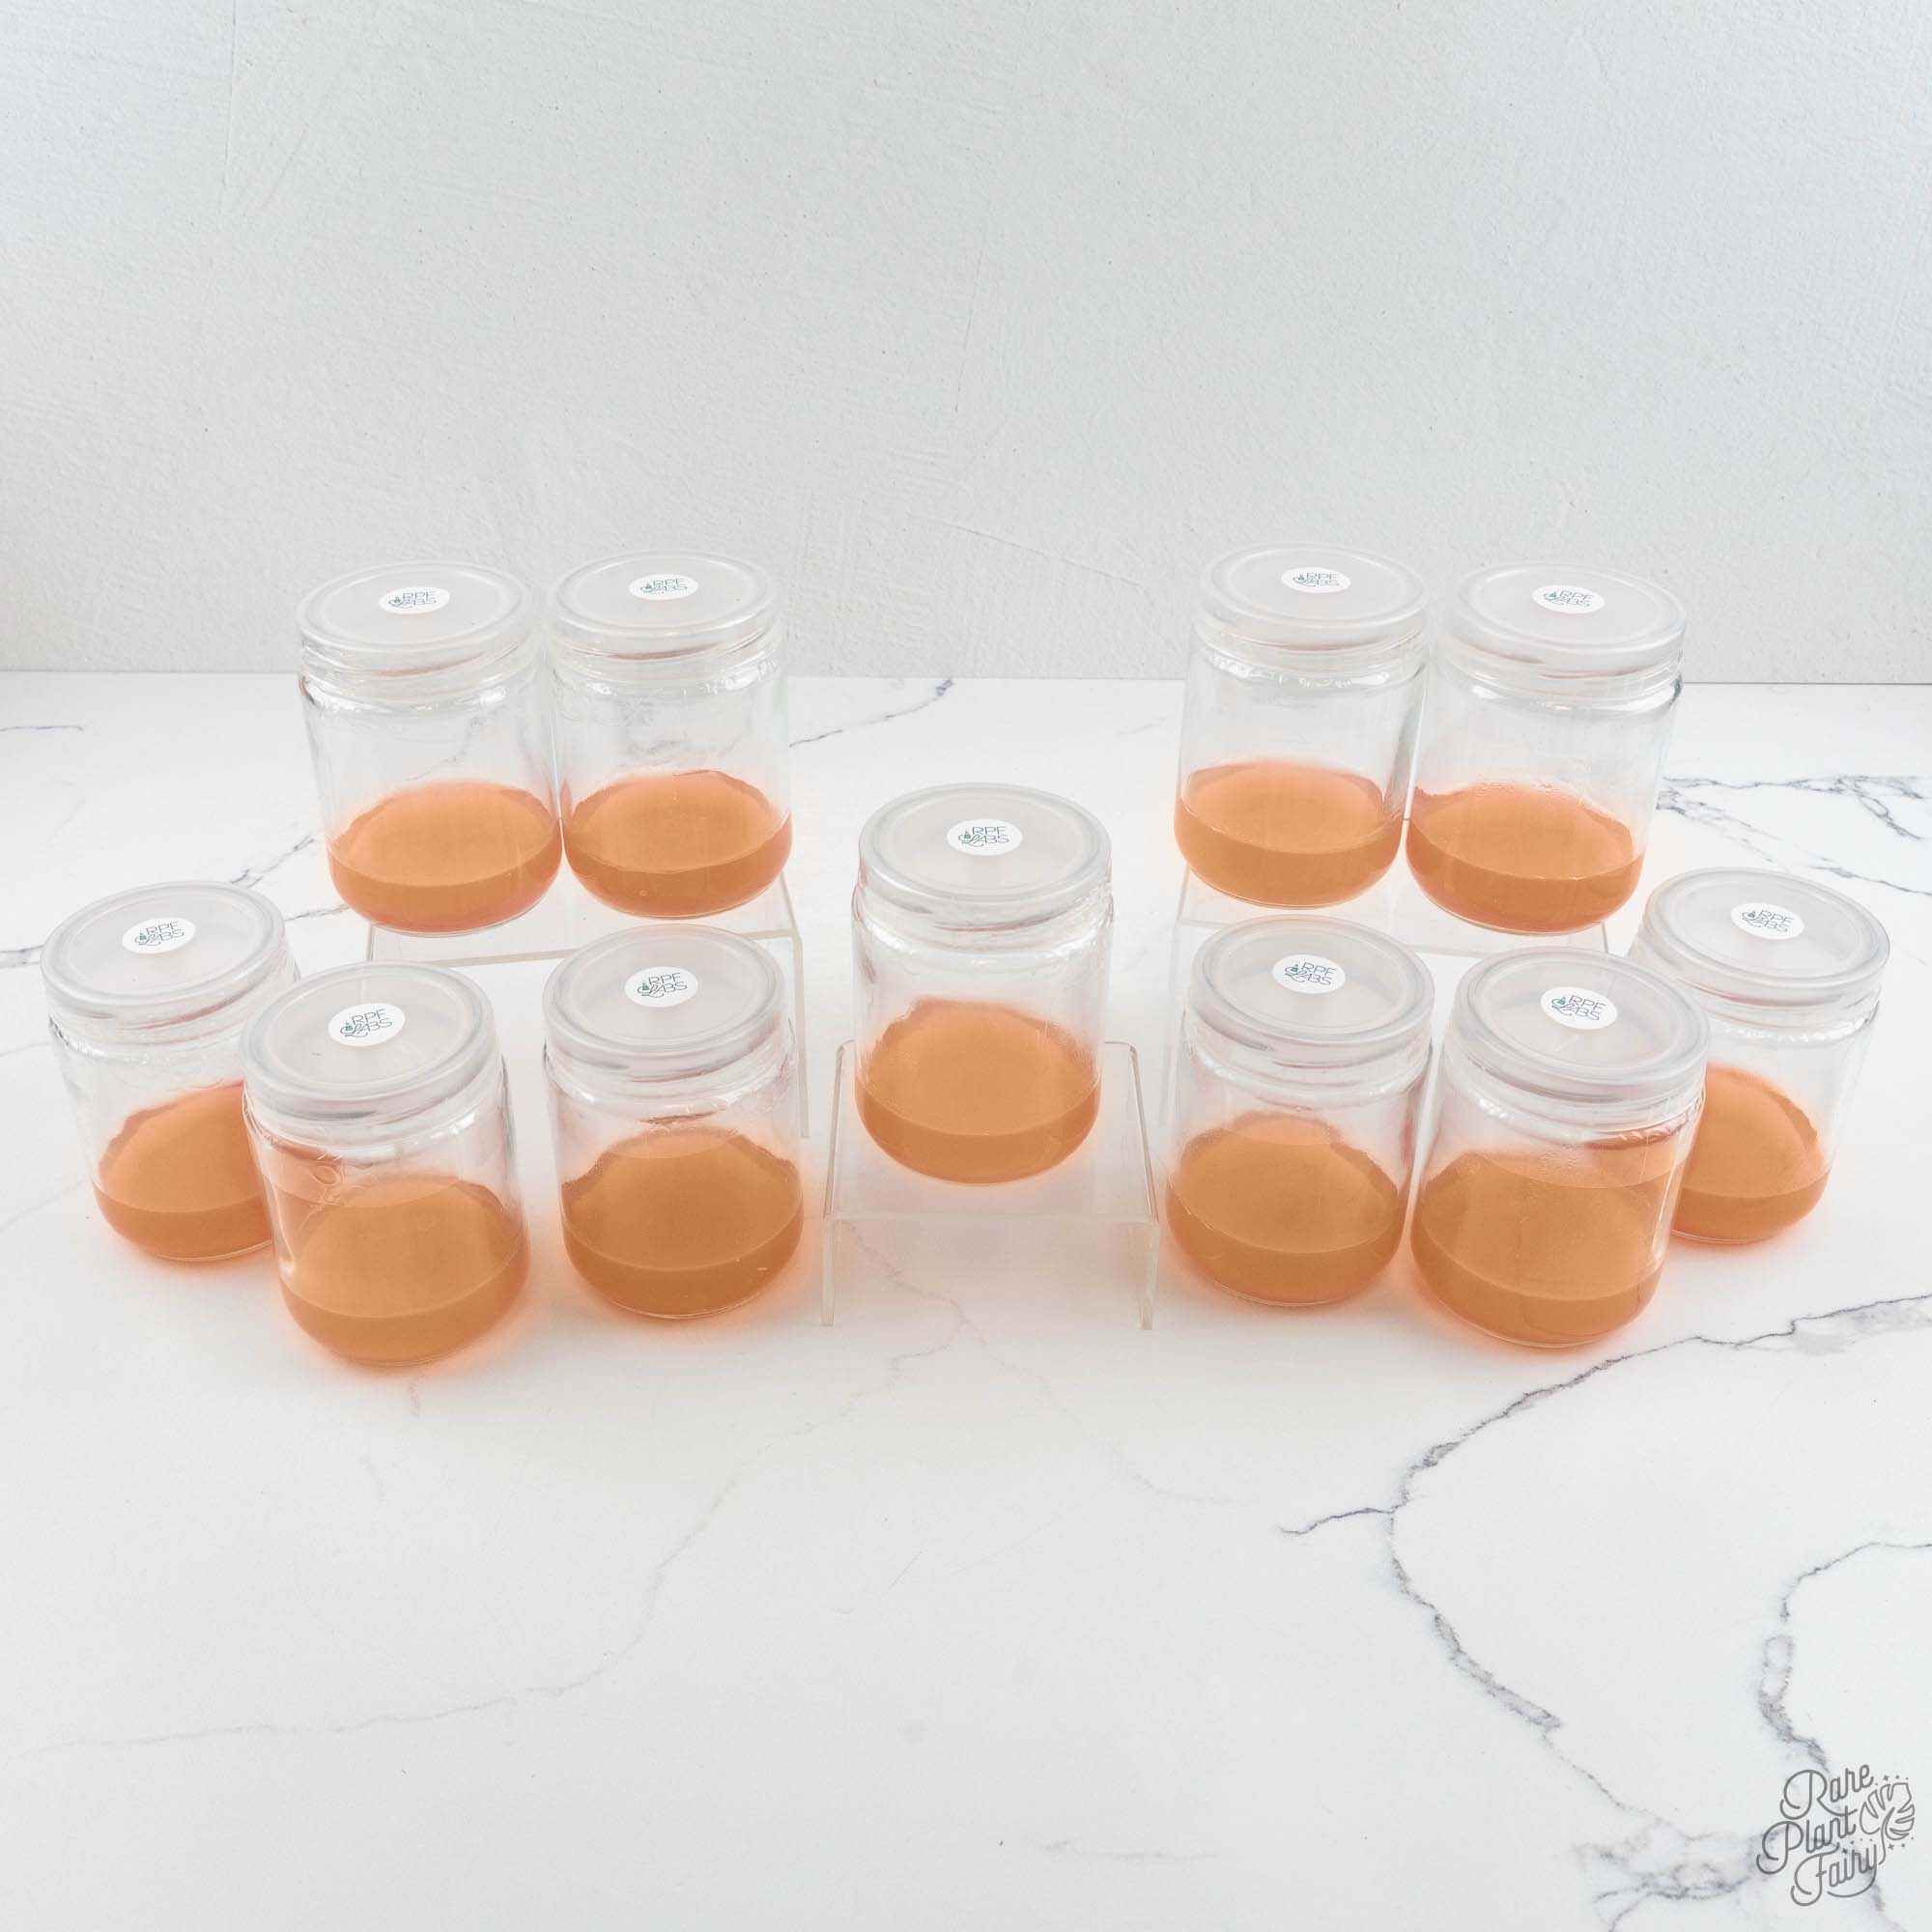
When shoots are large enough, move them to a rooting medium. This medium is designed for the stage after multiplication and before acclimatization. Leave them until a healthy root system forms.
Step 9: Acclimatize
This final step moves your plantlets out of the sterile jar. It is so important that it has its own section below.
How to Acclimate Tissue Culture Plantlets
As any tissue culture beginners guide will tell you, acclimation is the most critical stage, because plantlets raised in sealed jars have delicate leaves and roots that are not used to drying air. Done gently, it turns fragile plantlets into sturdy plants.
- Check readiness. Look for several healthy roots and a few firm leaves.
- Remove the plantlet. Gently take it out of the jar.
- Rinse off every trace of agar. Use lukewarm water, because leftover agar feeds mold.
- Pot it up. Use a fine, moisture-holding mix such as moss and perlite, like the blend in our aroid soil mix guide.
- Cover with a humidity dome. Keep humidity very high at first.
- Vent gradually. Open the dome a little more each few days over two to four weeks.
- Hold off on fertilizer. Wait until new growth appears before feeding lightly.
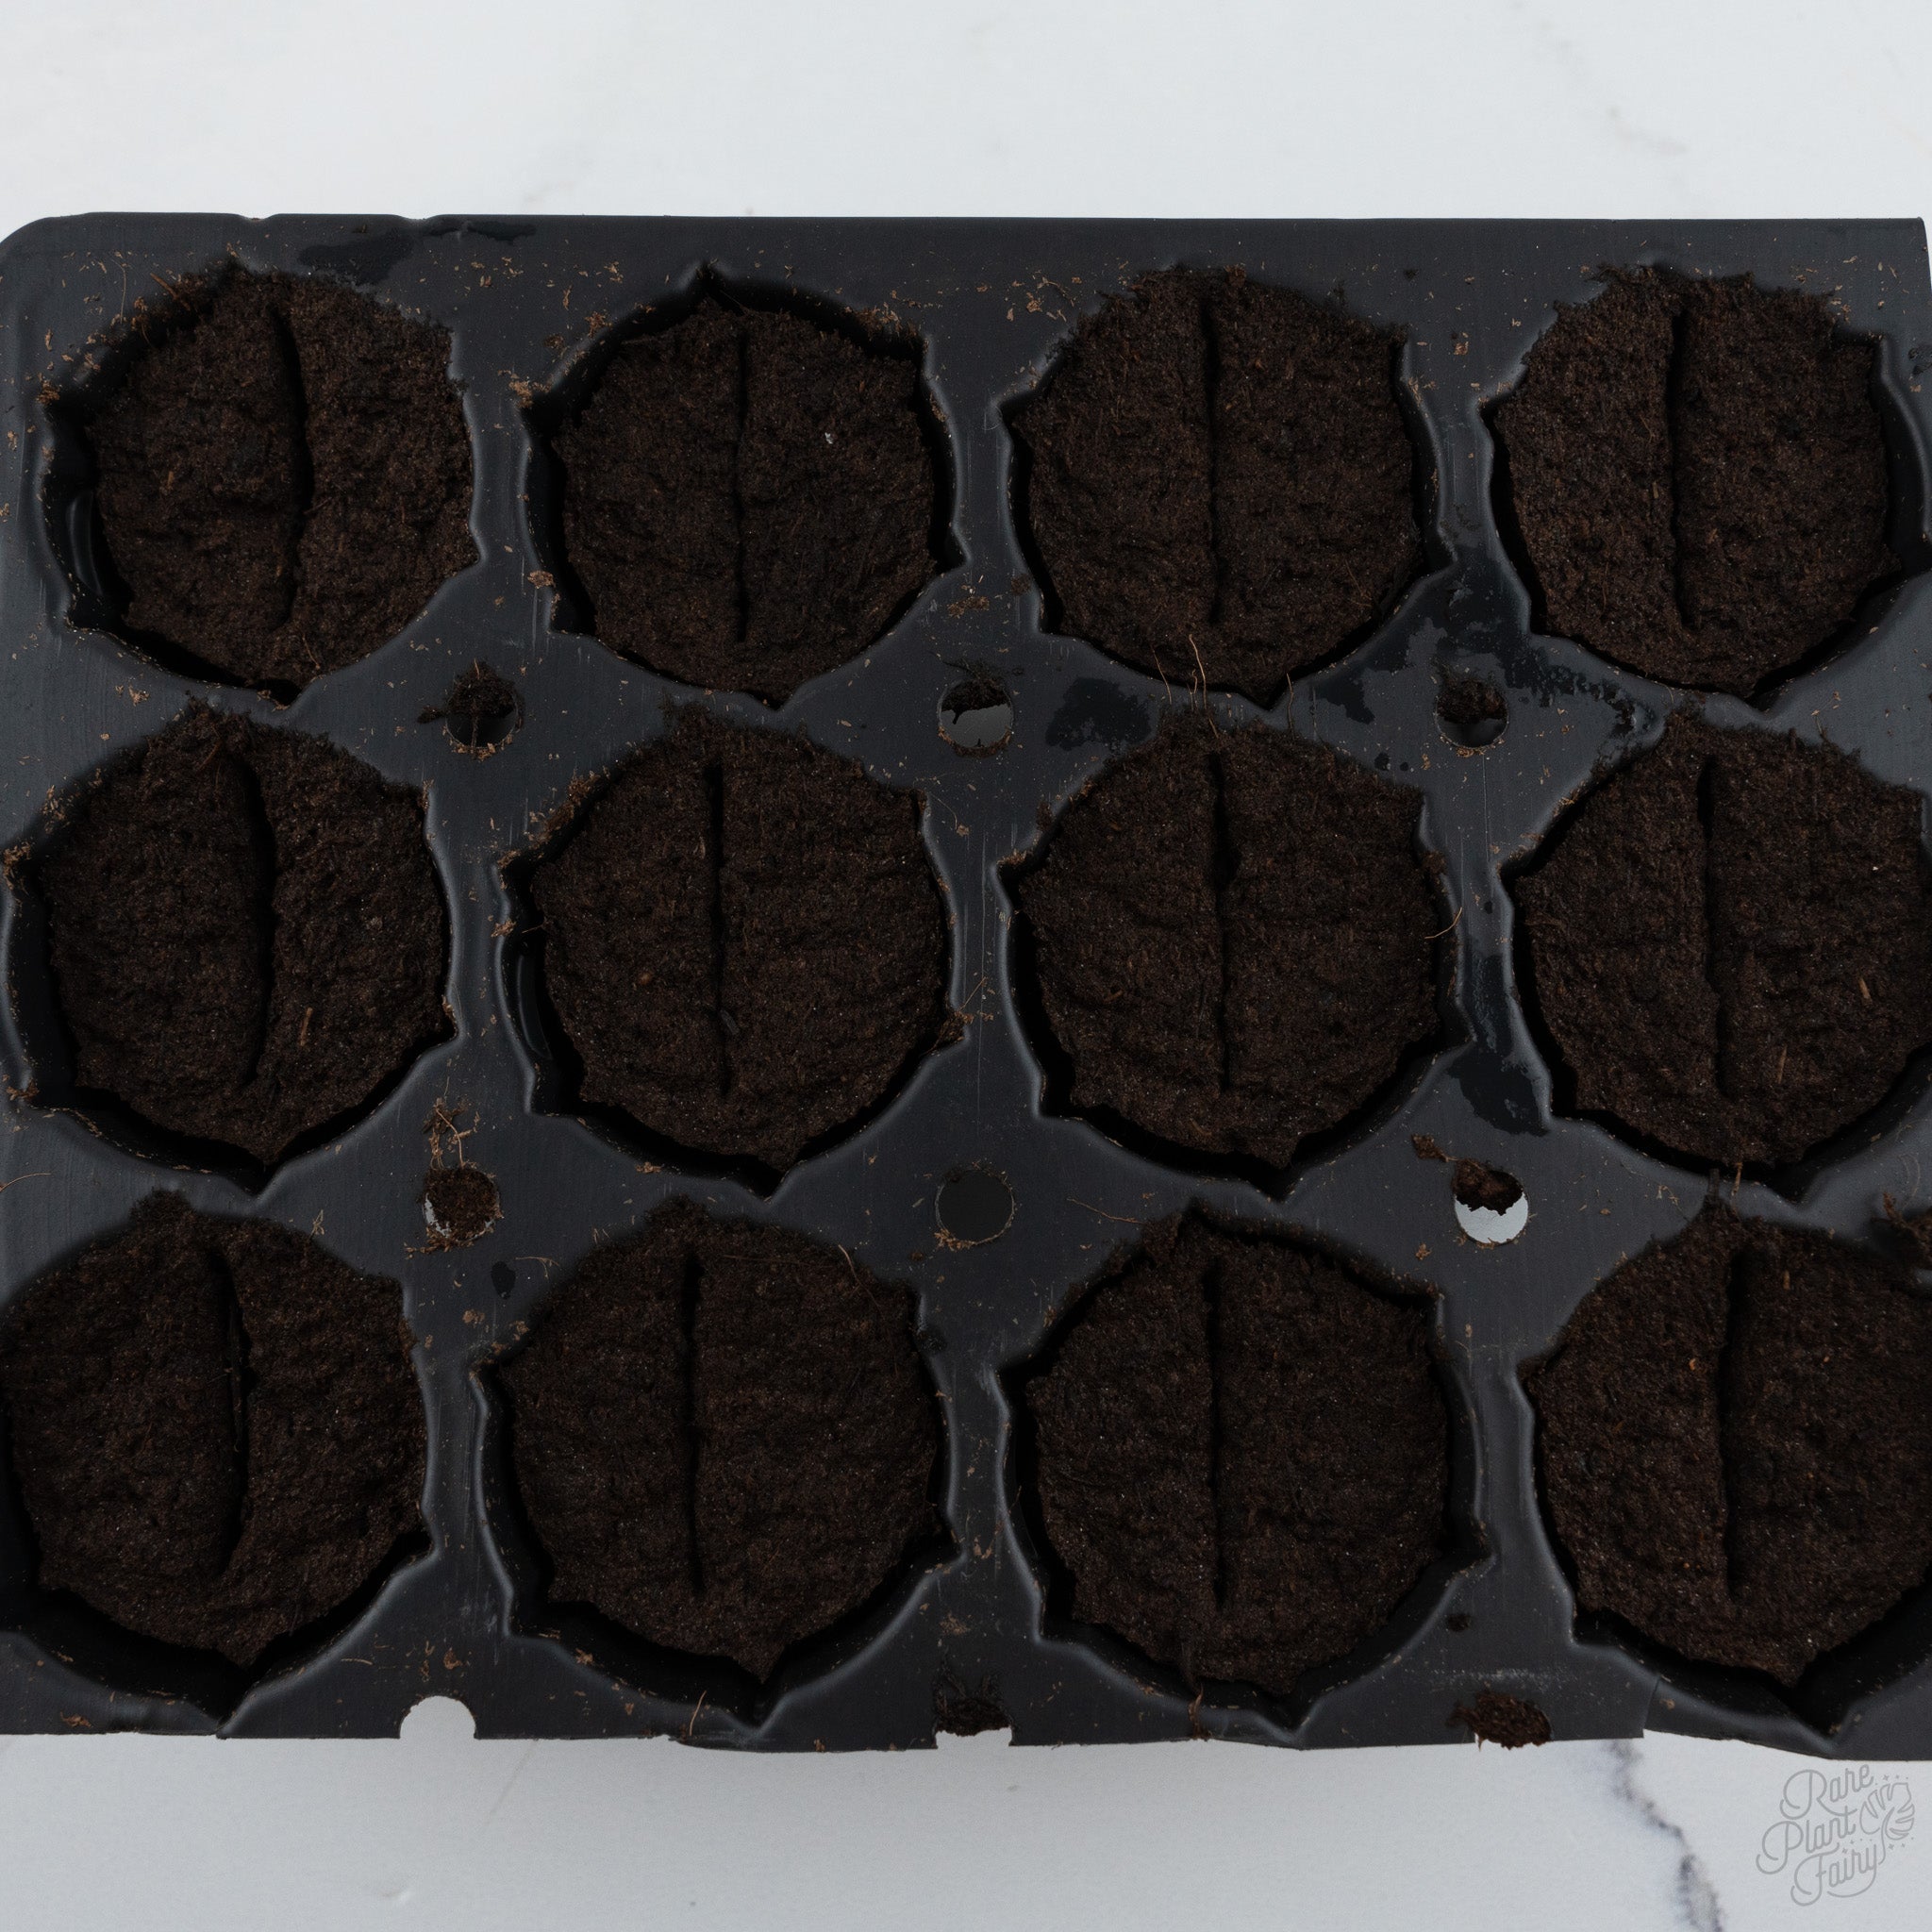
Our Tissue Culture Acclimation Kit includes a propagation tray, a humidity dome, culture-optimized plugs and a plug insert tray, giving you the tools to hold humidity and root conditions steady during this stage.
Watch for fungus on the surface, and remove any plantlet that rots. Keep light moderate rather than intense while roots establish, then raise it slowly.
Tissue Culture Beginners Guide: How Long Each Stage Takes
Timing varies widely by species, medium and temperature, but the table below gives a realistic picture for planning your first project.
| Stage | Typical time | What to watch |
|---|---|---|
| Initiation | About 2 to 4 weeks | Whether the jar stays clean and the tissue stays green |
| Multiplication | Several weeks per cycle | New shoots forming, and when to subculture |
| Rooting | A few weeks | Healthy white roots appearing |
| Acclimatization | About 2 to 6 weeks | New leaves, firm growth and no rot |
Patience is part of the process. A first jar can take months to become an acclimated plant, and rushing a stage usually costs more time than it saves.
Common Tissue Culture Problems and How to Fix Them
Nearly every beginner meets these problems, so this tissue culture beginners guide includes a quick troubleshooting table.
| Problem | Likely cause | Fix |
|---|---|---|
| Fuzzy mold on media | Fungal contamination from tools, air or the explant | Tighten your sterile routine and discard the jar |
| Cloudy or slimy media | Bacterial contamination | Discard and shorten or improve sterilization |
| Browning or blackening tissue | Oxidation of compounds released from cut tissue | Subculture more often and handle gently |
| Glassy, translucent shoots | Excess humidity or growth regulators (vitrification) | Vent lids and adjust the medium |
| No growth | Wrong medium, cold or poor light | Check medium type, temperature and light |
| Shoots but no roots | Still on multiplication medium | Move to a rooting medium |
Safety and Legal Basics for Beginners
A good tissue culture beginners guide covers safety and the law as well as technique. Keep these points in mind before you start.
- Pressure cookers: Let pressure drop completely before opening, and never force the lid.
- Bleach and alcohol: Use bleach in a ventilated area and keep alcohol away from flames, since it is flammable.
- Plant protection: Many cultivars are covered by plant patents or plant variety rights. Propagating protected plants without permission may be illegal, especially if you sell them. Check before you multiply.
- Moving plant material: Rules differ by country and state, so check local regulations.
Tips for Tissue Culture Success
These tips from our tissue culture beginners guide save the most time and the most plants.
- Start small. A handful of jars teaches you more than a hundred.
- Take notes. Record dates, media and results for every jar.
- Label everything. Mixed-up jars waste time and plants.
- Be patient. Slow growth is normal, and rushing causes mistakes.
- Learn from failures. Each contaminated jar points to a step to improve.
- Begin with easier plants. Common aroids such as Philodendron, Monstera and Syngonium are usually friendlier than fussy species.
Tissue Culture Beginners Guide: Frequently Asked Questions
These are the questions beginners ask most after reading a tissue culture beginners guide.
Can I do tissue culture at home?
Yes. Many hobbyists use a still air box on a clean bench. Good technique matters far more than expensive equipment.
How long does tissue culture take?
Each multiplication cycle usually takes several weeks, and getting from a first culture to an acclimated plant takes months. Timing varies by plant.
Do I need a laminar flow hood?
Not to begin with. A still air box is a common, affordable starting point, although a hood gives you more room and protection.
Is a tissue-cultured plant different from a normal plant?
It is genetically near-identical to the parent. Plantlets are small at first but grow into regular plants once acclimated.
Can I tissue culture a variegated plant?
Often yes, but variegation may fade or revert in culture, so results are less predictable than with green plants.
How many jars should I start with?
A dozen or fewer. A small batch is easier to keep clean, and you learn from every jar without risking a big loss.
Why did my jars get contaminated?
Most contamination comes from tools, hands, air movement or unsterilized plant material. Review your sterile technique checklist step by step.
Can I reuse culture jars?
Yes, once they are washed and sterilized properly. Never reuse a contaminated jar without cleaning it thoroughly.
What is the easiest way to start?
Use ready-made media and start with existing plantlets, so you can practice sterile technique before tackling harder steps.
Final Thoughts: Your Tissue Culture Beginners Guide Checklist
Tissue culture rewards patience and cleanliness. Prepare a clean space, pick the right media for each stage, sterilize carefully, give your jars steady light and warmth, and acclimate plantlets slowly. Start small, keep notes, and treat each failure as practice. This tissue culture beginners guide gives you the roadmap, and your first healthy plantlet will make the effort worthwhile.
Ready to start? Explore our Tissue Culture Supplies collection for ready-made media and the acclimation kit, and begin your first project today.